On-Boarding H2o.ai and Generic Java Models
The Acumos Java Client Library command line utility is used to on-board H2o.ai and Generic Java models. This library creates artifacts from an H2o or Generic Java model and pushes the artifacts to the on-boarding server for the H2o Model runner to be able to use them.
High-Level Flow
- The Modeler creates a model in H2o and exports it in the MOJO model format (.zip file) using any interface (eg.Python, Flow, R) provided by H2o. For Generic Java, the Modeler creates a model and exports it in the .jar format.
- The Modeler runs the JavaClient jar, which creates a Protobuf (default.proto) file for the Model, creates the required metadata.json file and an artifact called modelpackage.zip.
- Depending on the choice of the Modeler, she can manually upload these generated artifacts to the Acumos Marketplace via its Web interface. This is Web-based on-boarding. We will see how to do this in this article.
- Or the Java client library itself, on-boards the model onto the on-boarding server if the modeler provides the on-boarding server URL. This is CLI-based on-boarding.
The Model Runner provides a wrapper around the ML model, packages it as a containerized microservice and exposes a predict method as a REST endpoint. When the model is onboarded and deployed, this method (REST endpoint) can then be called by other external applications to request predictions off of the model.
Prerequisites
Java 1.8
The following Released components:
- Java Client v1.11.0 (java_client-1.11.0.jar)
- Generic Model Runner v2.2.3 (h2o-genericjava-modelrunner-2.2.3.jar)
Preparing to On-Board your H2o or a Generic Java Model
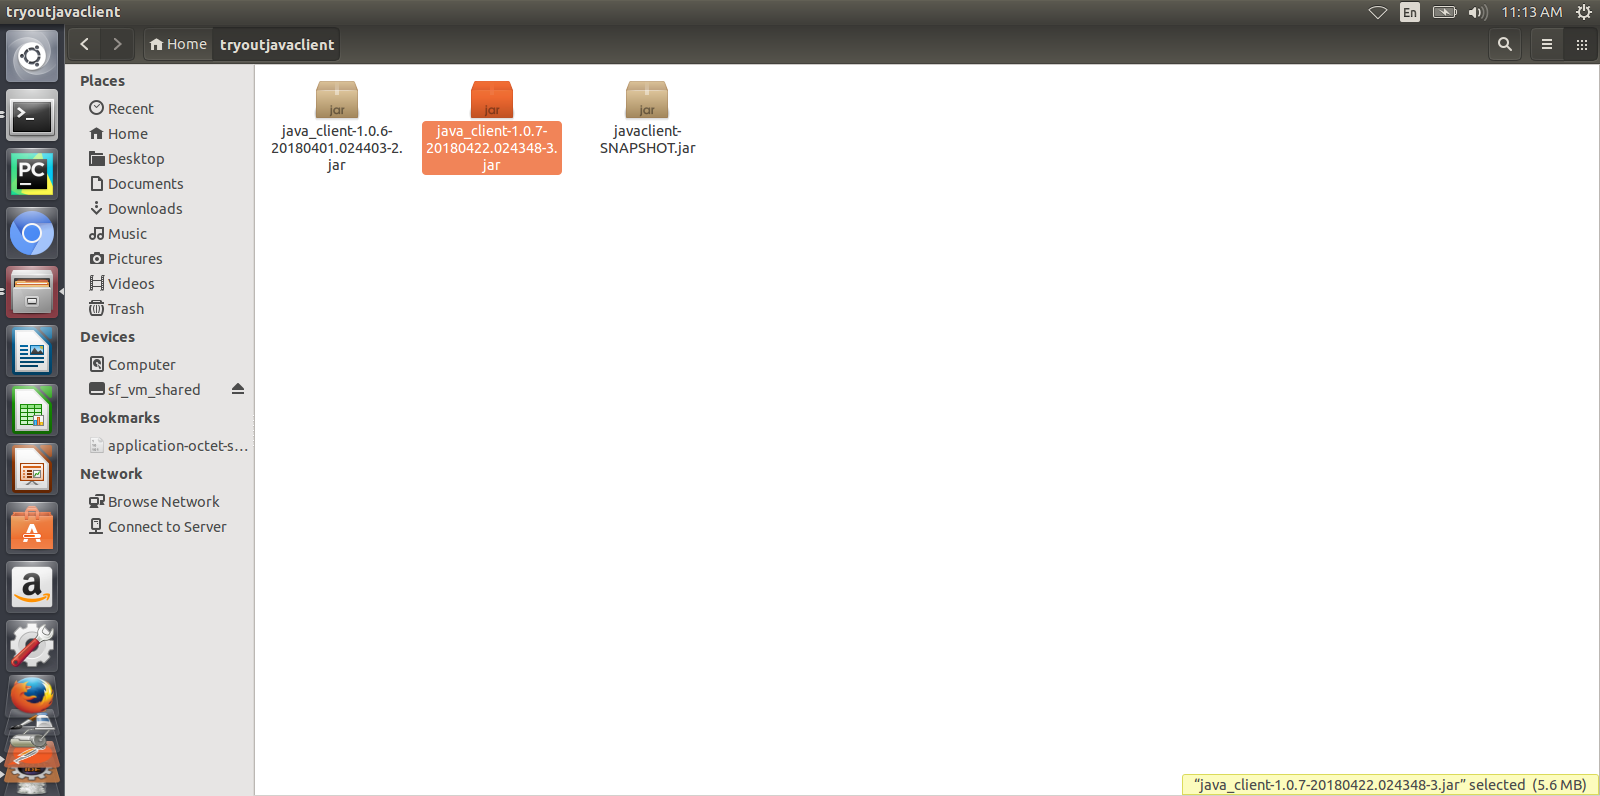
- Place Java Client jar in one folder locally. This is the folder from which you intend to run the jar. After the jar runs, the created artifacts will also be available in this folder. You will use some of these artifacts if you are doing Web-based onboarding. We will see this later. Note: the versions of the libraries in the screenshots may be outdated.
- Prepare a supporting folder with the following contents. Items of this folder will be used as input for the java client jar.
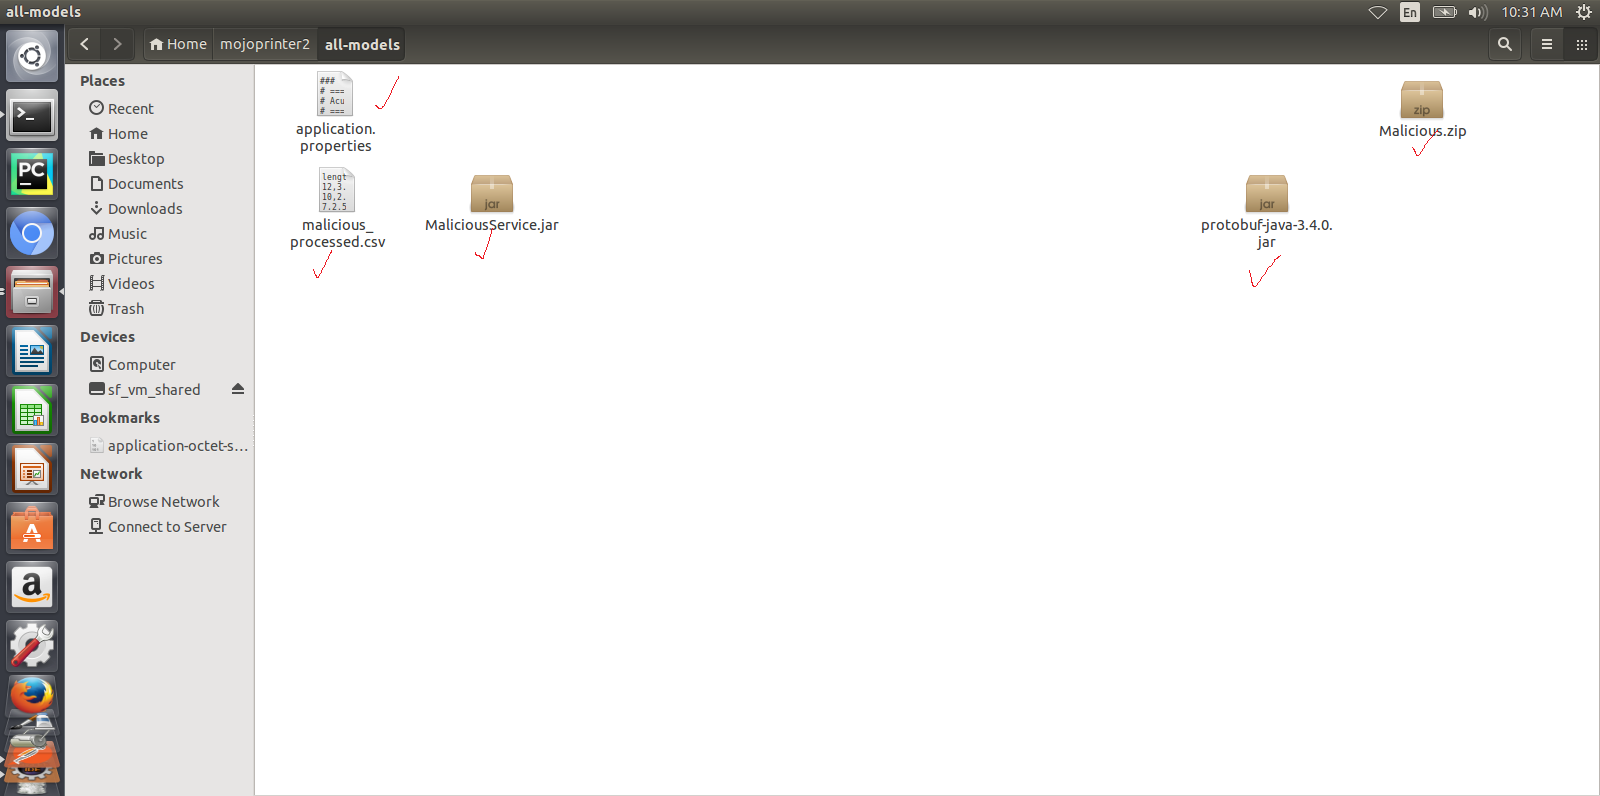
It will contain:
Models - In case of H2o, your model will be a MOJO zip file. In case of Generic Java, the model will be a jar file.
Model runner or Service jar - For H2O rename downloaded h2o-genericjava-modelrunner.jar as per the first section to H2OModelService.jar or to GenericModelService.jar for Java model and Place it in this folder.
CSV file used for training the model - Place the csv file (with header having the same column names used for training but without the quotes (“ ”) ) you used for training the model here. This is used for autogenerating the .proto file. If you don’t have the .proto file, you will have to supply the .proto file yourself in the supporting folder. Make sure you name it default.proto.
default.proto - This is only needed If you don’t have sample csv data for training, then you will have to provide the proto file yourself. In this case, Java Client cannot autogenerate the .proto file. You will have to supply the .proto file yourself in the supporting folder. Make sure you name it default.proto Also make sure, the default.proto file for the model is in the following format. You need to appropriately replace the data and datatypes under DataFrameRow and Prediction according to your model.
syntax = "proto3";
option java_package = "com.google.protobuf";
option java_outer_classname = "DatasetProto";

message DataFrameRow {
string sepal_len = 1;
string sepal_wid = 2;
string petal_len = 3;
string petal_wid = 4;
}
message DataFrame {
            repeated DataFrameRow rows = 1;
}
message Prediction {
            repeated string prediction= 1;
}

service Model {
rpc transform (DataFrame) returns (Prediction);
}
application.properties file - Mention the port number on which the service exposed by the model will finally run on.
server.contextPath=/modelrunner
# IF WORKING WITH MODEL CONNECTOR AND COMPOSITE SOLUTION, THE #server.contextPath will be /
# NOTE: THIS WILL TAKE AWAY SWAGGER
# This is the port number you want to run the service on. User may select a convenient port.
server.port=8336

spring.http.multipart.max-file-size=100MB
spring.http.multipart.max-request-size=100MB

# Linux version

# if model_type is Generic Java, then default_model will be /models/model.jar
# if model_type is H2o, then the default_model will be /models/Model.zip

#default_model=/models/model.jar
default_model=/models/Model.zip

default_protofile=/models/default.proto

logging.file = ./logs/modelrunner.log

# The value of model_type can be H or G
# if model is Generic java model, then model_type is G.
# if model is H2o model, then model_type is H. And the /predict method will use H2O model; otherwise, it will use generic Model
# if model_type is not present, then the default is H

#model_type=G
model_type=H
model_config=/models/modelConfig.properties

# Linux some properties are specific to java generic models

# The plugin_root path has to be outside of ModelRunner root or the code won't work
# Default proto java file, classes and jar
# DatasetProto.java will be in $plugin_root\src
# DatasetProto$*.classes will be in $plugin_root\classes
# pbuff.jar will be in $plugin_root\classes

plugin_root=/tmp/plugins
modelConfig.properties - Add this file only in case of Generic Java model onboarding. This file contains the modelMethod and modelClassName of the model.
modelClassName=org.acumos.ml.XModel
modelMethod=predict
Create your modeldump.zip file
Java Client jar is the executable client jar file.
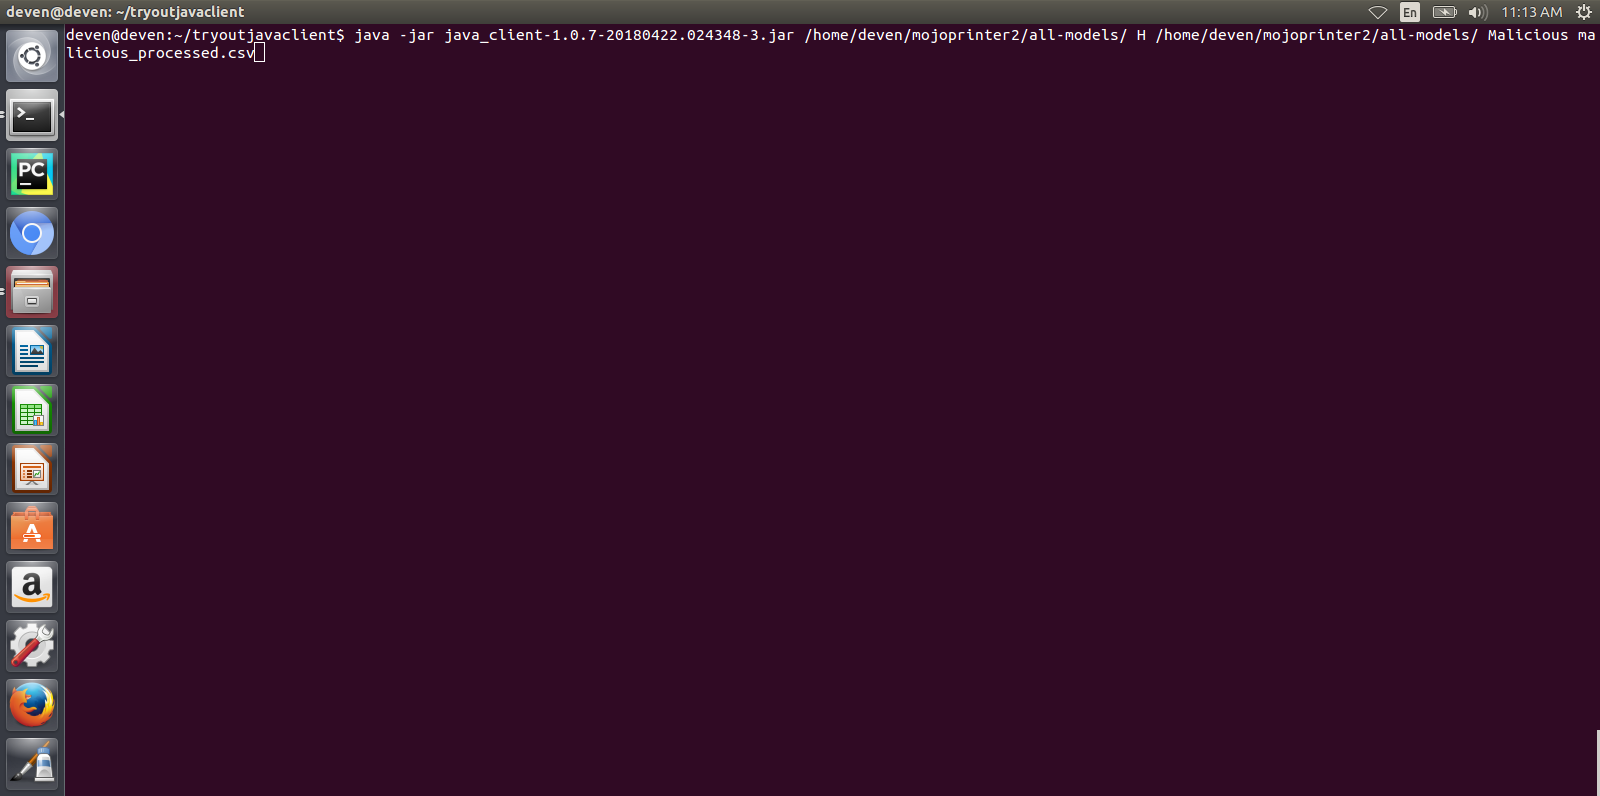
For Web-based onboarding of H2o models, the parameters to run the client jar are:
- Current Folder path : Full folder path in which Java client jar is placed and run from
- Model Type : H for H2o, G for Generic Java
- Supporting folder path : Full Folder path of the supporting folder which contains items.
- Name of the model : For h2o just the name of the model without the .zip extension. Make sure this matches name of the supplied MOJO model file exactly.
- Input csv file : csv file that was used for training the model. Include the .csv extension in the csv file name. This will be used to autogenerate the default.proto file. This parameter will be empty if you yourself have supplied a default.proto for your model.
For CLI-based onboarding, the parameters to run the client jar are:
- Onboarding server url.
- Pass the authentication API url for onboarding - This API returns jwtToken for authenticated users. e.g http://<hostname>:8090/onboarding-app/v2/auth
- Model Type : H for H2o, G for Generic Java.
- Supporting folder path : Full Folder path of the supporting folder which contains items.
- Name of the model : For h2o just the name of the model without the .zip extension. Make sure this matches name of the supplied MOJO model file exactly.
- Username of the Portal MarketPlace account.
- Password of the Portal MarketPlace account.
- Input csv file : csv file that was used for training the model. Include the .csv extension in the csv file name. This will be used to autogenerate the default.proto file. This parameter will be empty if you yourself have supplied a default.proto for your model.
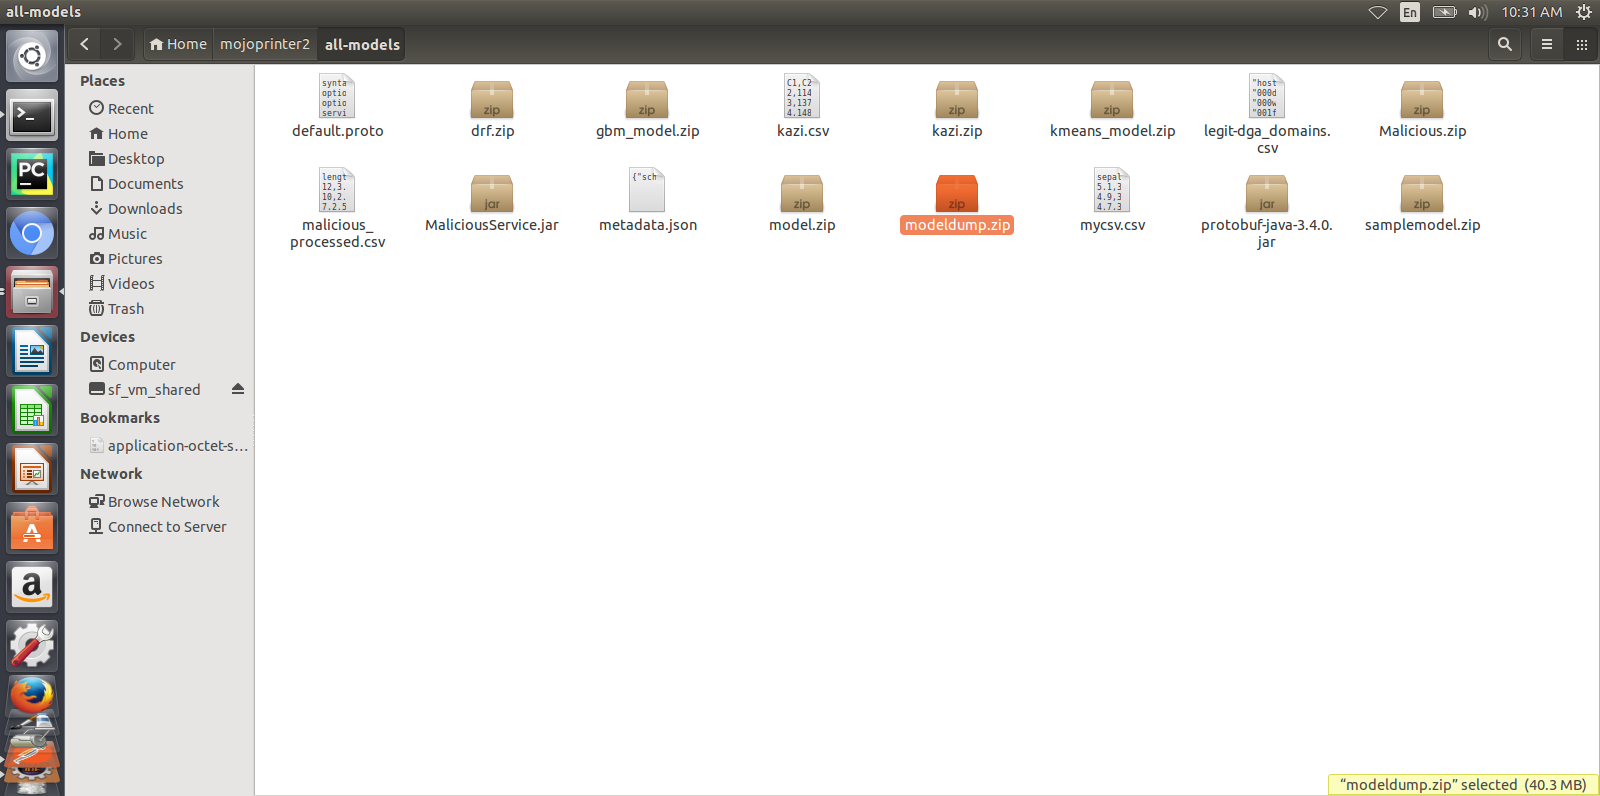
See example below for how to run the client jar and how the modeldump.zip artifact appears after its successful run:
Onboarding to the Acumos Portal
- If you used CLI-based onboarding, you don’t need to perform the steps outlined just below. The Java client has done it for you. You will see a message on the terminal that states the model onboarded successfully.
- If you use Web-based onboarding, you must complete the following steps:
- After you run the client, you will see a modeldump.zip file generated in the same folder where we ran the Java Client for.
- Upload this file in the Web based interface (drap and drop). See On-Boarding a Model Using the Portal UI
- You will be able to see a success message in the Web interface. you will be able to see a success method in the Web interface.
The needed TOSCA artifacts and docker images are produced when the model is onboarded to the Portal. You and your teammates can now see, rate, review, comment, collaborate on your model in the Acumos marketplace. When requested and deployed by a user, your model runs as a dockerized microservice on the infrastructure of your choice and exposes a predict method as a REST endpoint. This method can be called by other external applications to request predictions off of your model.
Addendum : Creating a model in H2o
You must have H2o 3.14.0.2 installed on your machine. For instructions on how to install visit the H2o web site: https://www.h2o.ai/download/.
H2o provides different interfaces to create models and use H2o for eg. Python, Flow GUI, R, etc. As an example, below we show how to create a model using the Python innterface of H2o and also using the H2o Flow GUI. You can use the other interfaces too which have comparable functions to train a model and download the model in a MOJO format.
Here is a sample H2o iris program that shows how a model can be created and downloaded as a MOJO using the Python interface:
import h2o
import pandas as pd
import numpy as np
import matplotlib.pyplot as plt
import seaborn as sns

# for jupyter notebook plotting,
%matplotlib inline
sns.set_context("notebook")

h2o.init()

# Load data from CSV
iris = h2o.import_file('https://raw.githubusercontent.com/h2oai/h2o-3/master/h2o-r/h2o-package/inst/extdata/            iris_wheader.csv')

Iris data set description
-------------------------
1. sepal length in cm
2. sepal width in cm
3. petal length in cm
4. petal width in cm
5. class:
    Iris Setosa
    Iris Versicolour
    Iris Virginica


iris.head()
iris.describe()
# training parameters
training_columns = ['sepal_len', 'sepal_wid', 'petal_len', 'petal_wid']
#  response parameter
response_column = 'class'

# Split data into train and testing
train, test = iris.split_frame(ratios=[0.8])
train.describe()
test.describe()

from h2o.estimators import H2ORandomForestEstimator
model = H2ORandomForestEstimator(ntrees=50, max_depth=20, nfolds=10)

# Train model
model.train(x=training_columns, y=response_column, training_frame=train)

print (model)

# Model performance
performance = model.model_performance(test_data=test)
print (performance)

# Download the model in MOJO format. Also download the h2o-genmodel.jar file
modelfile = model.download_mojo(path="/home/deven/Desktop/", get_genmodel_jar=True)

predictions=model.predict(test)
predictions
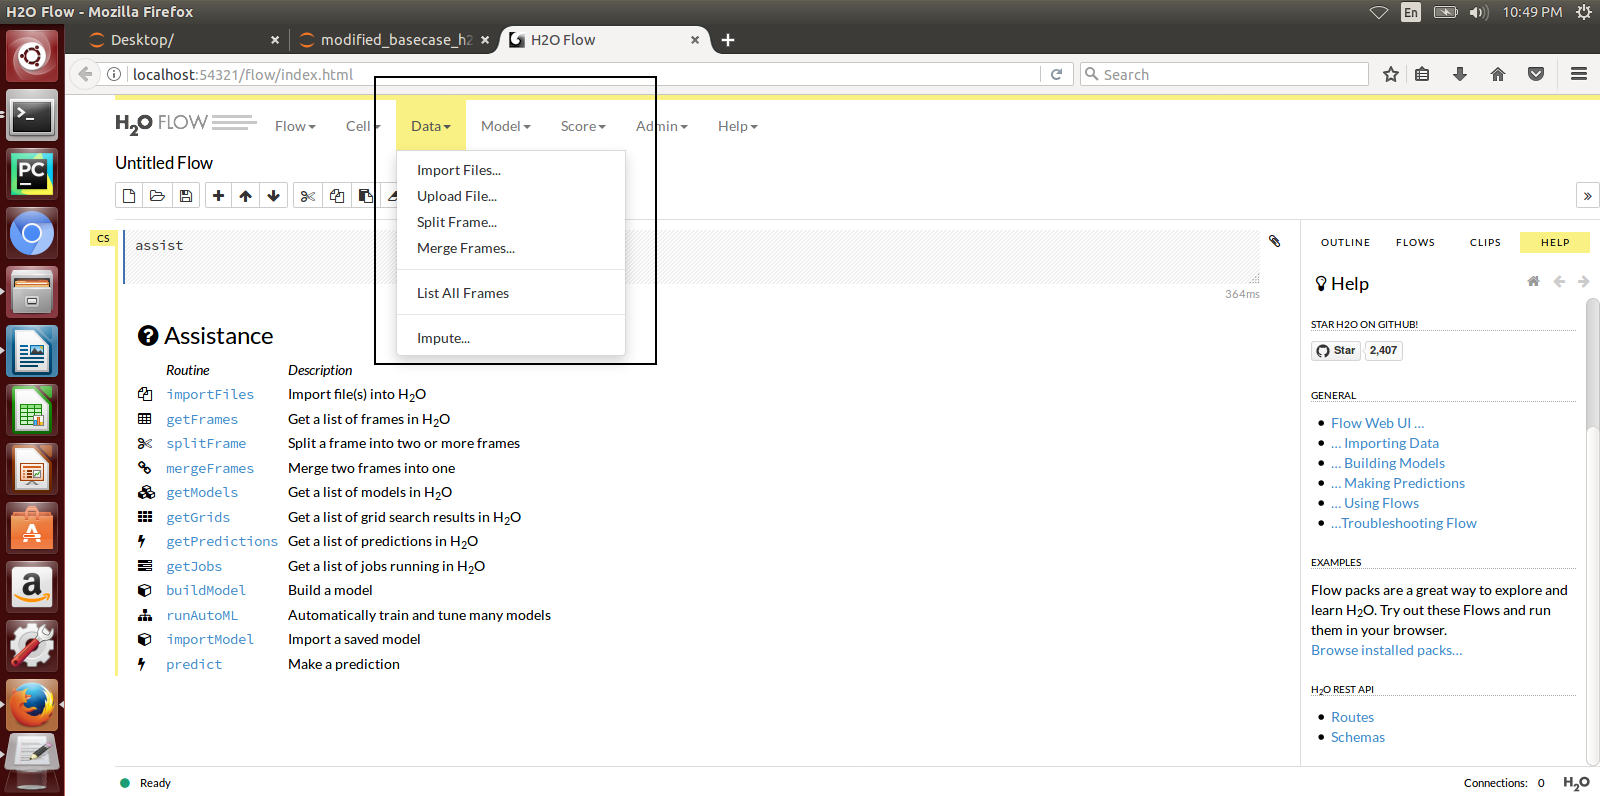
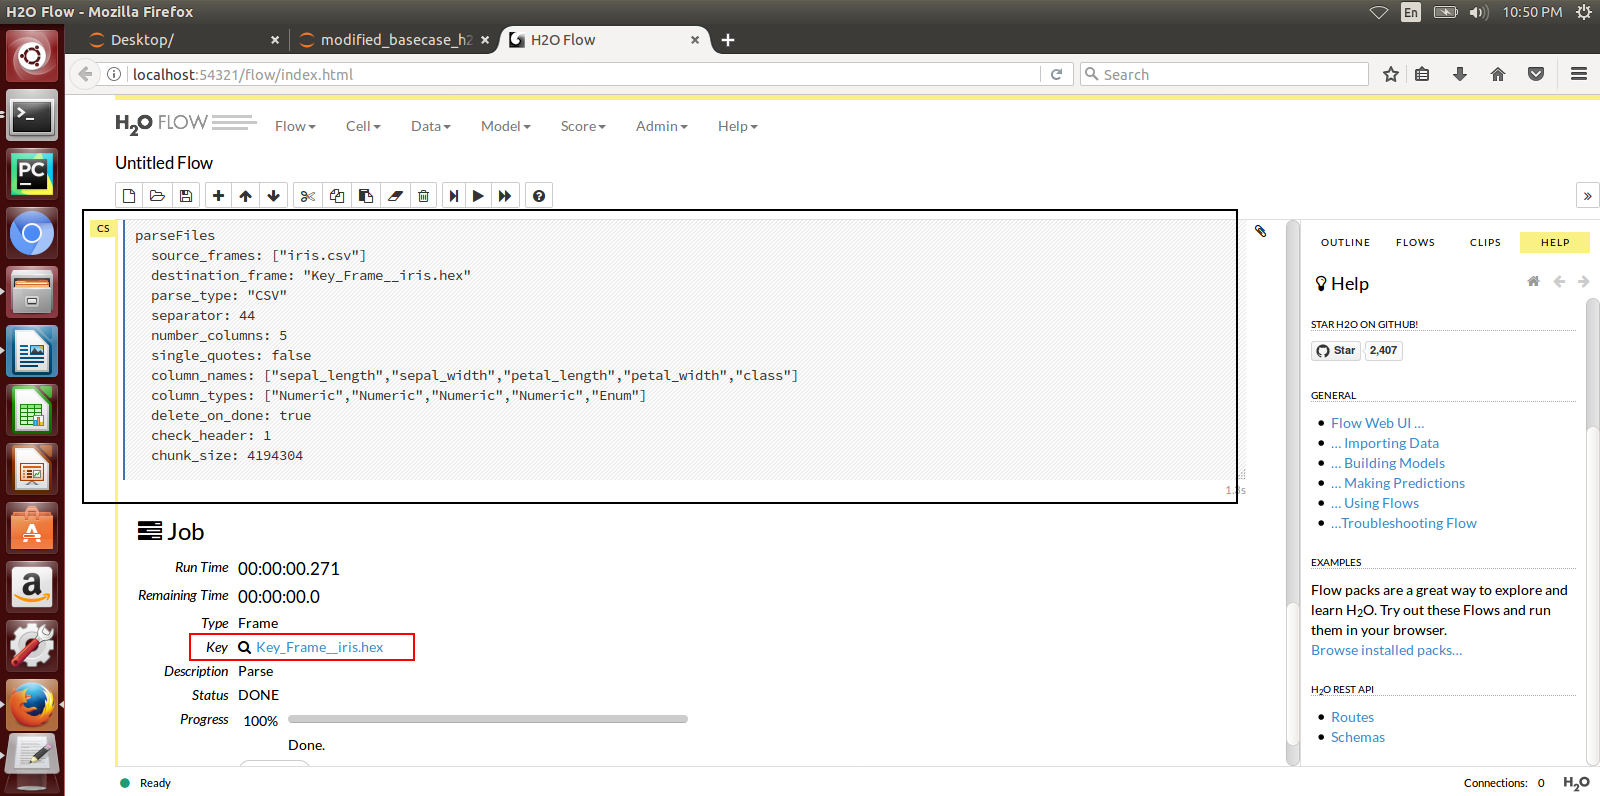
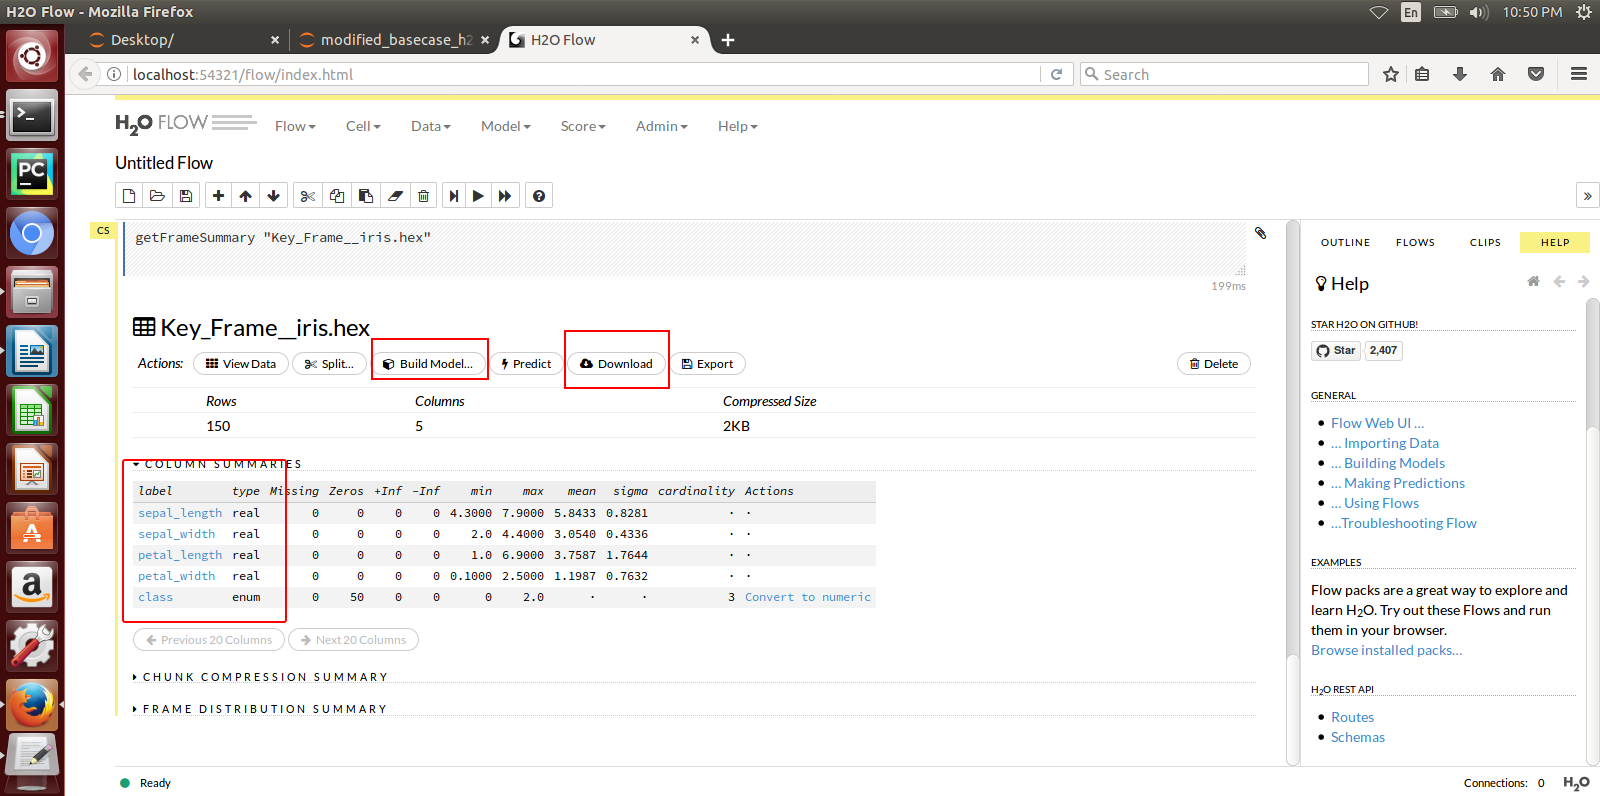
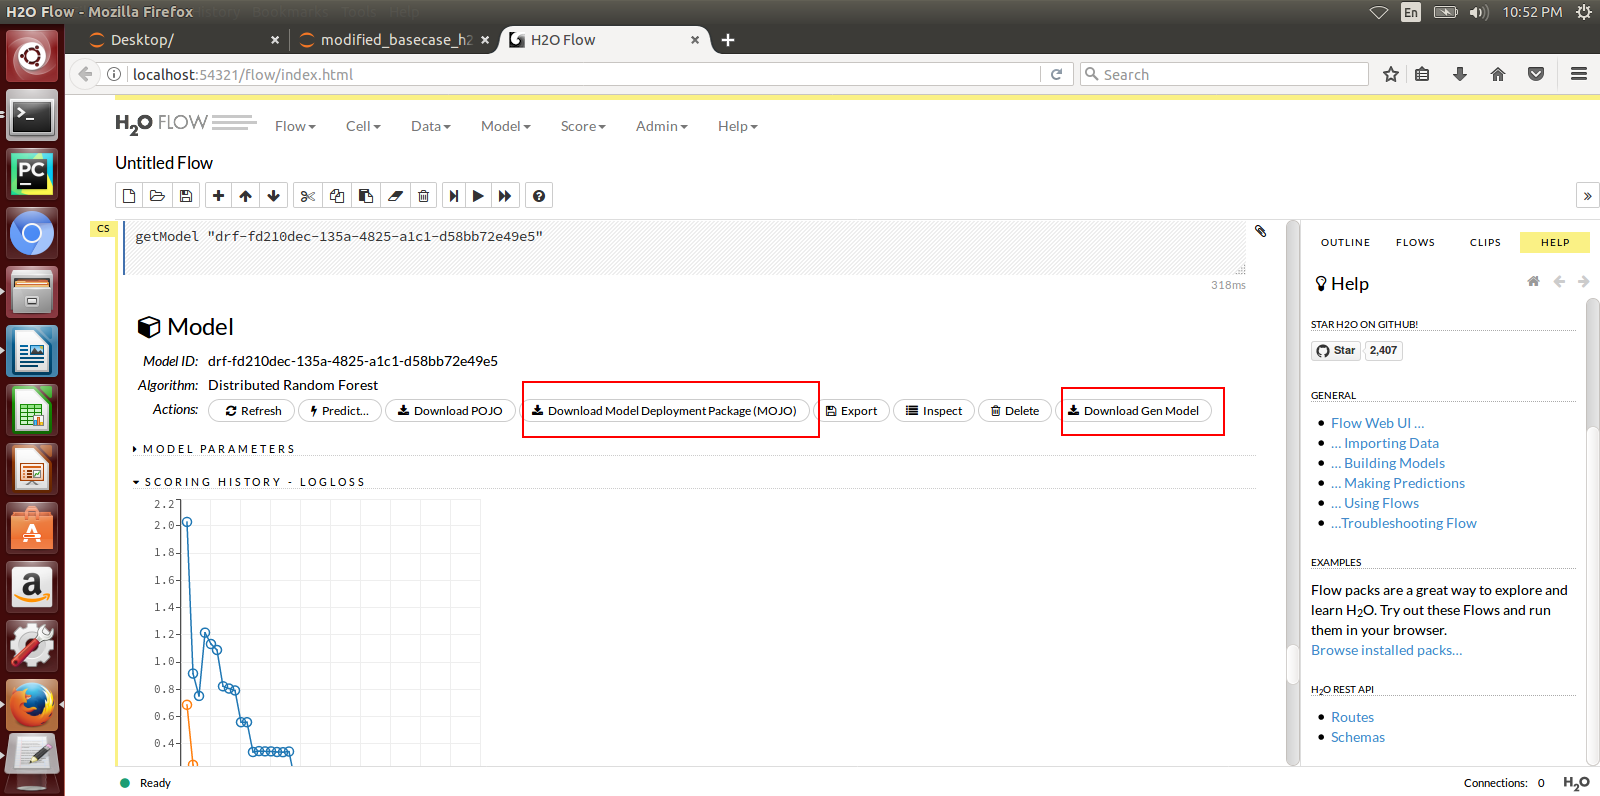
Here is a sample H2o iris example program that shows how a model can be created and downloaded as a MOJO using the H2o Flow GUI.